Wednesday 8 May 2013

Remove Lines on the screen

 As you can see in the image to your left the image has lines across the screen, I've already tried to replace the panel but that didn't work so I replaced the cable connecting the motherboard to the screen......

 The is me replacing the lead from the screen........


Me replacing the lead from the motherboard........


Fitting the replaced wire where the old one went so all the casing goes back on without issue.


And on test it shows that the screen is now fully working without any lines across the screen.


Internet Stopping Issue

The issue with this is that internet explorer isn’t working this means that something with the internet explorer software is corrupt or damaged in some way. This can be solved.......
 
 First go onto the computers control panel and click on Internet Options.
 
 This is then the pop-up menu that appears. This is the settings for the internet. The next stage now is to click the advanced tab at the top.......


The pop-up on the left image will then appear this is asking whether you have any usernames/emails and passwords saved onto the internet that you want to get rid of. You don’t have to get rid of it. Once you have decided then you will click the next button and the other pop-up on the right image will appear this is the internet’s tick list to make sure its covered all aspects of restarting the software.

You will then find once you click back onto the internet again, it will load up and load everything without crashing or being corrupt anymore.


Keyboard Replacement

As you can see on this image the keyboard isn’t working. So it needs replacing...


First I unattached it from the casing, and then lift it up slowly due to it having a delicate cable on the keyboard. Then get lift the grip on the keyboard port. Then get your new keyboard and plug it in the same way


Then place the keyboard into the same position and screw the top screws down so it doesn’t pop up or come back out of place. And then run a test to see if it works ......


And as shown on this image the ‘1’ key is now fully working and so are all the other keys.
 

Tuesday 7 May 2013

Ram/ Memory Replacement


This computer was running slow and then once restarting the system this image appeared on start-up. I then ran a memory test on it ....


Once running the memory test it showed a lot of errors with the memory. This meant that the laptop needed to have the ram in it replaced.


I then turned the laptop upside down and took the old ram out ....


And replaced it with the same sized ram but different stick as you can see.


Then I tested the new replacement Ram stick and turned the computer on. This shows that the computer turned on and that all my data was still on the laptop and no damage was done to any data.


Replacing a Failed wireless adapter

 
As you can see from the print screen that there is only the Ethernet port that is showing in device manager. This could be because the Wireless card has failed, the reason I know this is because if it was a driver issue then the wireless card would still show in the device manager, just under a different name.

To fix the issue I had to make sure that the laptop ha a network adapter in it so I had a look.


And I found that there was a network adapter in there. So I unplugged it from the board......


And replaced it with a brand new one (in the image you can see that there is the same orange sticker on the network adapter, this is because I took the sticker off the old one and placed it on a new one).


 And replaced it with a brand new one (in the image you can see that there is the same orange sticker on the network adapter, this is because I took the sticker off the old one and placed it on a new one).


 Once you have screwed one of the top corner screws into place then plug the White and Black wire in the wireless card the correct way around and test it.


As you can see in the image that the new network adapter is now showing in the device manager and is now fully working.


Thursday 2 May 2013

Cmos Battery Replacement Time

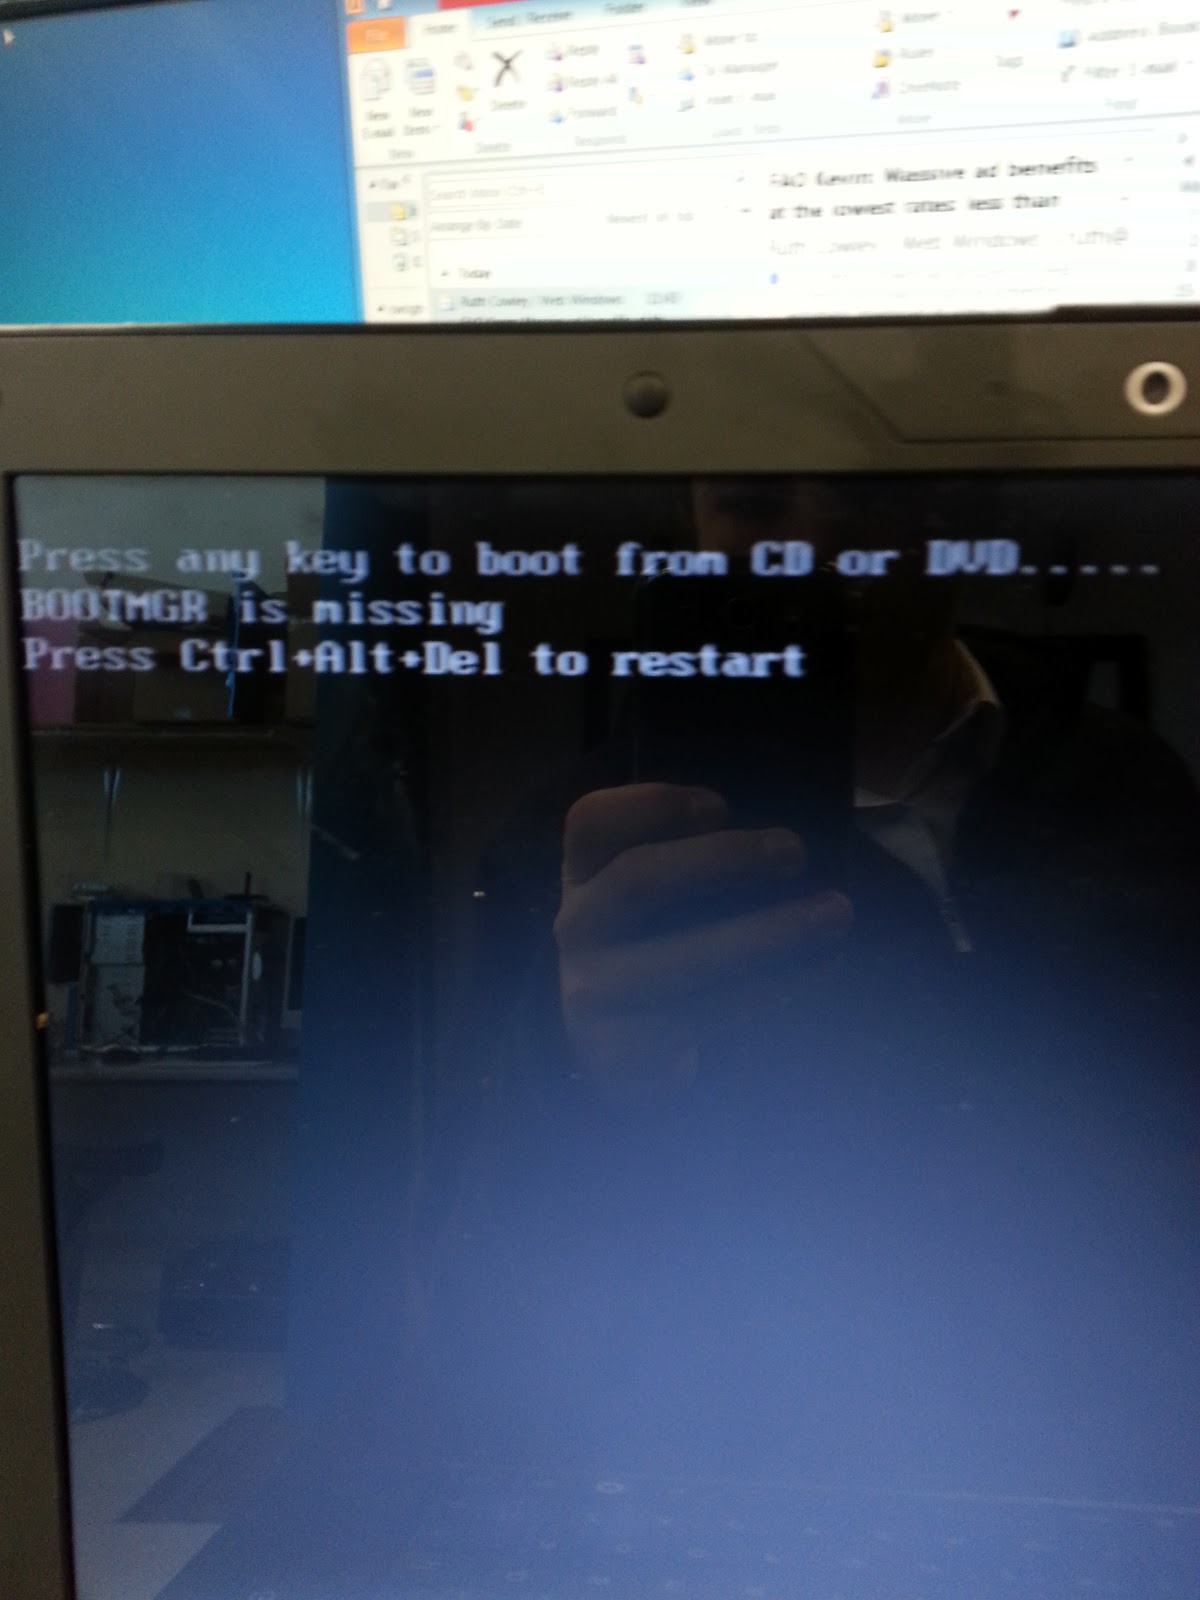
When turning the Computer On this BIOS message appeared. The message states that there is an issue with CMOS Setting, for this to happen suddenly is strange the source of the problem would be the CMOS Battery; I looked internally inside the computer and found that there was a CMOS battery in there. So I thought to myself that CMOS batteries are only meant to last for at least 6 years but this model computer was a 2002 model nearly 11 years old so I replaced the CMOS battery. …..

 
Looking to check the battery is in …….


Replacing the CMOS battery……………


After replacing the CMOS battery I found that there was much less of a message than the previous one so I press F1 on the keyboard to go to the Setup.


On the Setup change the Date and time so they are both correct.


Once you have corrected the date and time press F10 to save changes. Once you have hit enter when the OK section is highlighted then the computer will reset.


 The computer now starts loading the operating system and will go back to normal again.


The start menu as it the same as when the error occurred, as you can see nothing was affected by the CMOS error.


DESKTOP CPU ERROR


This is the problem that is occurring; this BIOS message comes up on the screen. This means that there is some wire that is damaged for the fan, the fan is clogged with dust or the CPU Fan plug has come loose.

To find out the problem you have to look at the machine internally.


And found that the CPU fan Plug wasn’t connected probably. So I unplugged and plugged the cable back into the port all the way down. This screen then didn’t appear.

Replacing The Battery


As you can see in the bottom corner of the Windows 7 start-up screen you can see the Consider replacing you battery error. This is because the battery will have to much wear to it now so it won’t be able to charge, only run on the power cable.


As you can see from the image this is where you remove and replace the laptop battery with a new one that doesn’t have wear to it.

Fixing a HP's Fan


This is the BIOS message that was found on a laptop that has a faulty fan, the problem with this was that there was no real way of finding out the problem without looking internally with the laptop to see what the issue was with the fan.


When taking the laptop apart, I have found that the issue was the fan being blocked with dust I blew out all the dust I could, then I got a cloths and wiped the fine clean. Then I put the computer back together and the system booted onto the windows start up screen without any BIOS start screen.


And this is the working HP laptop after the
 clean out inside.

Fixing the missing Boot manager on your OS

Here we have a BIOS message with a missing boot manager, this means that the operating system could be badly corrupted, this could be virus related or could be bad software downloaded  onto the hard drive, the only to fix this issue is to reinstall the Operating System back onto the hard drive and delete the old one. You  re-install the operating system by firstly finding out what Operating system the laptop originally had, in this case the laptop had Windows 7, you find the Operating System out by turning the computer over and look for the product key sticker, and this should show you the operating system the laptop had. The get the Windows 7 64 bit iso file onto a USB or Disc then boot the laptop from which ever you have chosen.


This is the start of the Windows 7 installation once booting from Disc. You start the process by first click on the Install now button.


This is then you agreeing to the Microsoft software license agreement. So you then need to tick the agree box and then click the next button.


The next stage is deciding the hard drive partitions, you will notice after this problem that you have had that there is a partition with memory already on, this is all the computers data, SO DON’T DELETE THE PARTITION, click on the largest partition then click next. This will come clear to you once the installation is complete.


This is then the loading and waiting stage. Once all windows files have copied back to the hard drive and the hard drive will have a free fresh install of Windows 7.


This is then the screen that you will see once the installation is complete.  Now you’re thinking where all your data is.

Follow this route to find all data

My Computer > hard drive the operating system is on> Windows.Old folder

This is where all you old documents will be.